Hooking Up APIs & Importing URLs

URL Profiler does what it says on the tin – it profiles URLs – in bulk, and at speed.
To set up the tool to work for you, you need to do 2 things:
- Import a list of URLs to process
- Select the data you want the tool to bring back
There is also a bit of ‘initial setup’ stuff you need to do, as you need to add API keys for the data providers you want to use. However once you have done this once, that’s it done forever.
There is a full walkthrough on how to add API details for every provider below. First I will just show you how to import URLs and select data.
Importing Links
There are 3 easy ways to import links:
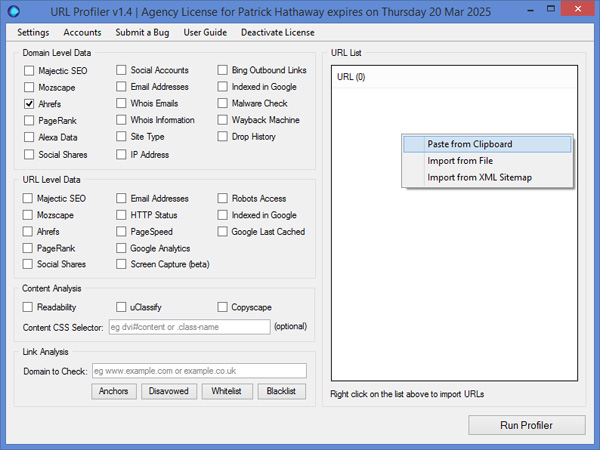
- Paste from clipboard
- Import from file
- Import from XML sitemap
They are all pretty self explanatory and work as you would expect. To paste from clipboard, simply open up your list of links (e.g. Export from Open Site Explorer), highlight and copy the linking URLs you wish to analyse.
In URL Profiler, right click the white box and click ‘Paste from Clipboard’
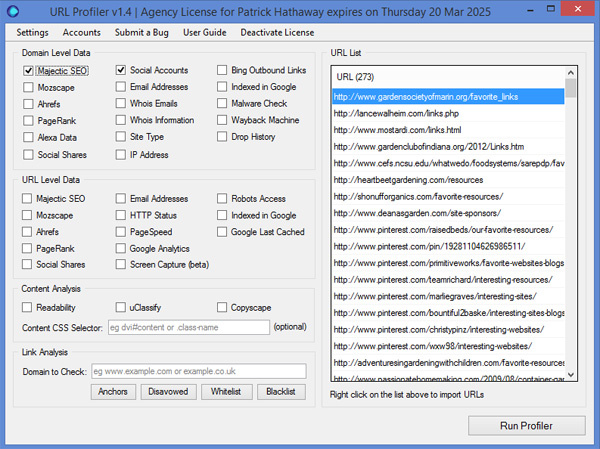
Then URL Profiler will populate with the links you wish to analyse. You will see a URL count at the top in brackets.
Now, in order to choose the data you wish to extract, you need to tick the boxes on the right. In this example, I have chosen to pull back domain level Majestic SEO data and social accounts. In order to get data from Majestic I will need to add in their API details first (see below).
Important note: Don’t just tick every single box.
This will make your profile slower to run it, it will use up API credits, and will return a shit-ton of data that will be very difficult to work with.
It is much better to think about the data you need and only select that. For instance, if you are prospecting domains to get links on, you probably don’t need URL level data at all.
Importing Multiple Files
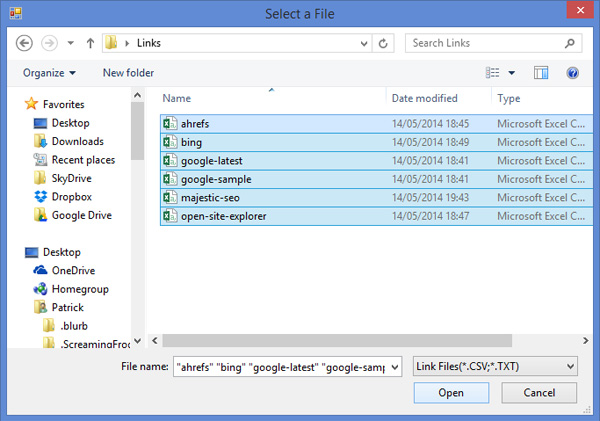
If you choose to ‘Import from File’ instead of pasting, you can save time by importing multiple files all at once. Just select all the files you need, and URL Profiler will de-dupe them for you.
Hooking Up APIs
Whilst you don’t need an API key in order to do everything on the tool, all of the coolest features utilise APIs (you can, for instance, do a full unnatural link classification without using a single third-party API).
Supported APIs
URL Profiler supports the following APIs:
- Majestic SEO (paid)
- Mozscape (free and paid)
- Ahrefs (paid)
- Google (free)
- My-Addr (paid)
- Copyscape (paid)
- uClassify (free)
To enter API keys, click the top left ‘Accounts’ navigation option, then select the relevant tab. All of the links included below are also available through the Accounts section on the tool, however the walk-through below provides more detailed guidelines.
Majestic SEO
URL Profiler can access the Majestic SEO API to extract link metric data such as Citation Flow, Trust Flow and the new Topical Trust Flow.
To use the API, you need to get OpenApp Authorisation, which requires a paid subscription.
Head over to this page to get started.
Login with your credentials and you will be taken to this page. Click ‘Grant Access’.
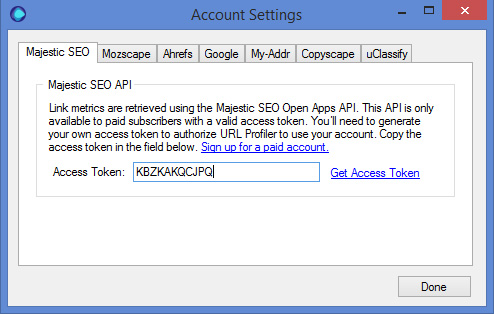
You will be given your API key, which you need to enter into the Account Settings on URL Profiler (note that this API key will only work with URL Profiler).
Mozscape
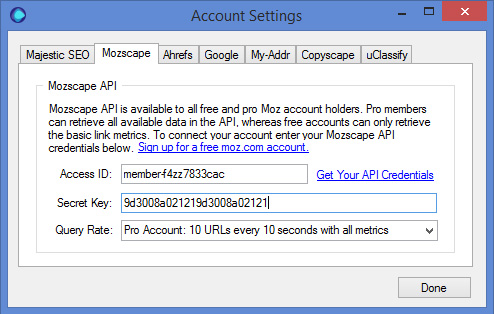
Moz offer API access to both free and paid accounts, so if you haven’t got one already, go and create an account. If you have a paid account you have better access which means you can request more data, more quickly.
Head over to their API page to generate your API credentials.
Hit ‘Generate Secret Key’ and it will generate you an Access ID and a Secret Key, which you then need to enter into the Account Settings on URL Profiler.
Ahrefs
URL Profiler can access the Ahrefs API to extract link metric data such as Domain Rank and backlink data.
To use the API, you need to get OpenApp Authorisation, which requires a paid subscription.
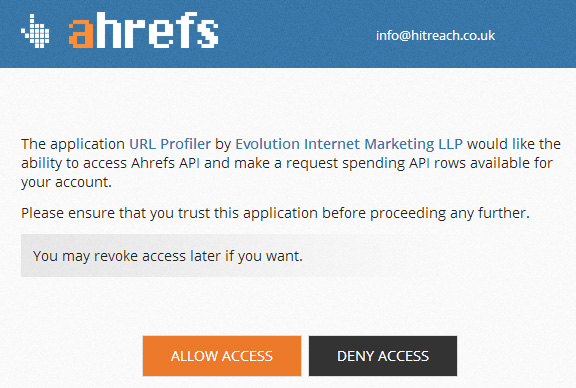
Head over to this page to get started.
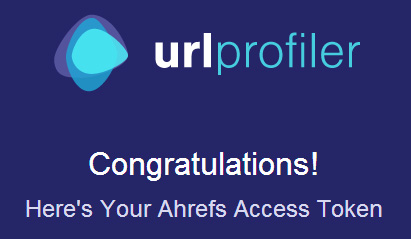
Hit ‘Allow Access’ and you will come to a screen listing the ahrefs API access token for URL Profiler
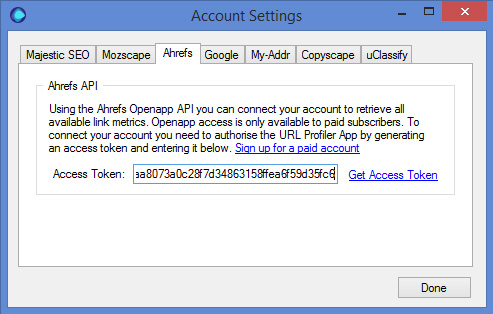
Copy your API key and enter it into the Account Settings on URL Profiler
Google PageSpeed API
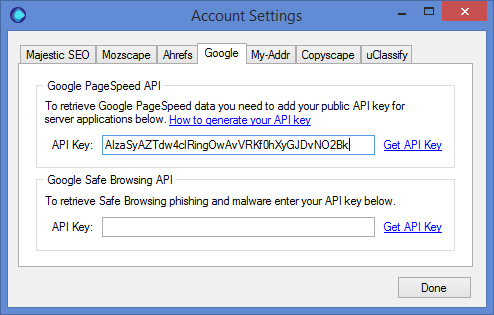
To access Google’s PageSpeed API you’ll need to authorise URL Profiler by creating a Public Access API Key. You can get a free Google PageSpeed API from within Google’s Developer Console.
1. Create a new Project and name it URL Profiler and then click into the project.

2. Before you create the key, you’ll need to make sure you have authorised the PageSpeed Insights API. Do this by turn it on, in the “APIs & AUTH” section.
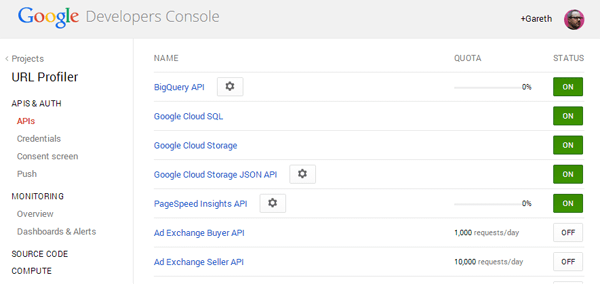
3. Now, you need to create the key. Head over the “Credentials” section, scroll down to the Public API access section and click on the “Create a new key” button.
![create-button]](https://172-233-222-199.ip.linodeusercontent.com/wp-content/uploads/2014/07/create-button.png)
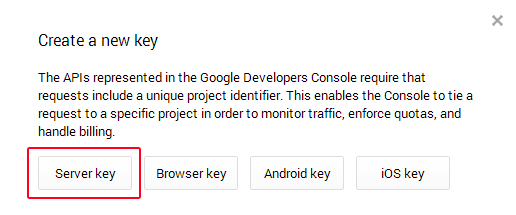
4. In the panel select “Server Key”.
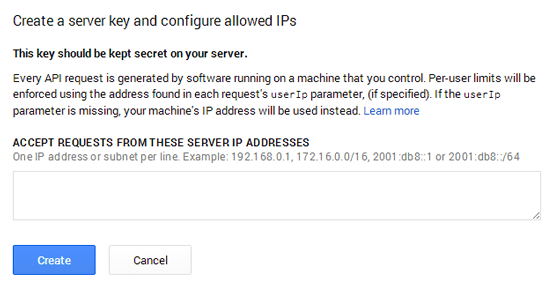
5. Don’t enter into the next panel, just click the “Create” button.
6. That’s it done, you will now have an API Key, copy this to your clipboard

7. Paste this into the Google Pagespeed box on your URL Profiler Account Settings.
Google Safe Browsing API
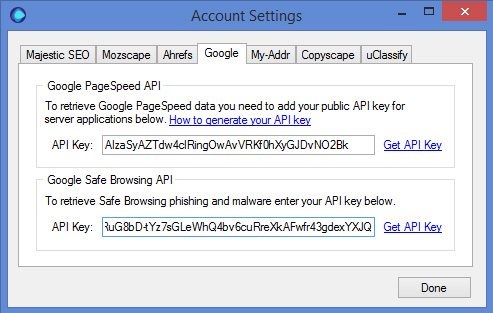
Unfortunately you can’t use the same PageSpeed key, so you’ll need to sign up for one here. To access your key, scroll to the bottom, tick that you agree to the terms and conditions, and then click the “Generate API key” button.
You will then be taken to a page with your newly generated key.

Paste this into the Google Safe Browsing box on your URL Profiler Account Settings.
My-addr
The my-addr project is used to retrieve Alexa and Whois data. When you visit their website you will notice that it is;
- The worst design ever
- Very frustrating to use
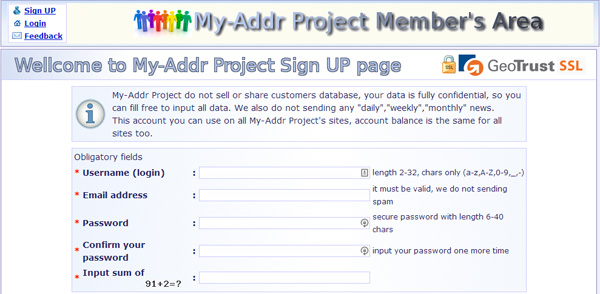
However their data rates are really cheap, so it is worth persevering. Take a deep breath, then head over to their registration page and sign up for an account.
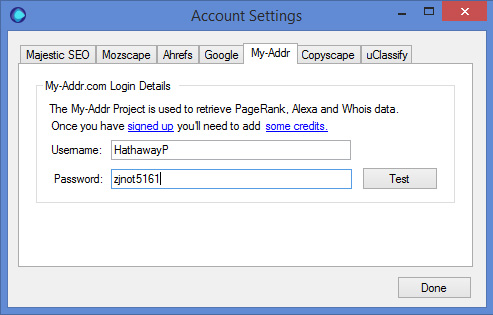
After what seems like an absurdly long time, my-addr will create your account and log you in. You will need to add your username and password to URL Profiler Account Settings.
Once you have added your details, click the ‘Test’ button and make sure the account can successfully connect. Now you will need to add credit to your account.
Prices
Before you can use my-addr, you will need to add some credit. Even if you were logged in previously, it will prompt you to sign up to a new account. Just click ‘Already a member’ and log in through there.
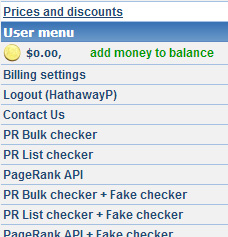
In the left hand navigation, there will now be and option to ‘add money to balance’
Click that link and add some credit to your account – you will only need to do this in one area of the site, and your credit will apply to all the my-addr services that URL Profiler uses. Their pricing structure works out as:
- Alexa Rank: $1.00 per 100,000 URLs
- Whois data: $1.63 per 1000 domains
Copyscape
URL Profiler can access the Copyscape API to perform duplicate content checks.
To use the API, you need to sign up for a premium subscription.
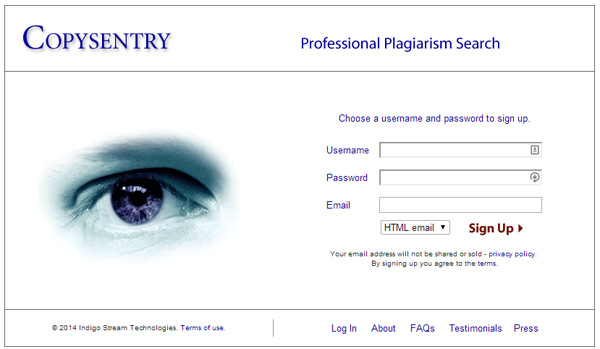
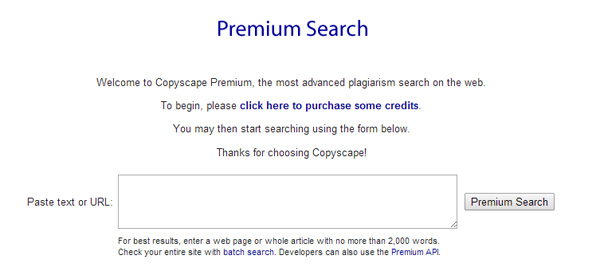
If you already have a free account, you will need to create a new premium account (log out and follow this link specifically) as for some reason you are unable to use the same account for both. If you manage to successfully dance around their minefield of a site you should get to this page:
Then click to purchase credits. The API offers the same pricing rates as regular searches, which is $0.05 each.
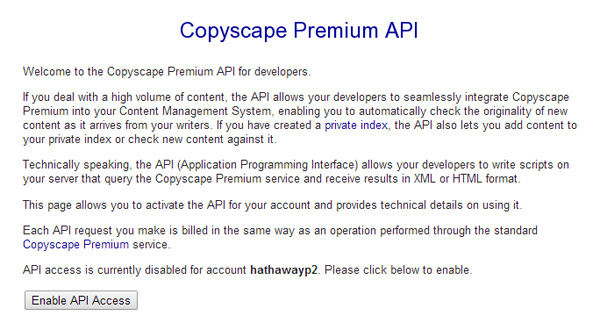
Before you can use the API you need to enable API access – go to this page and click ‘Enable API Access’.
Then if you scroll down the page you will find your API details:
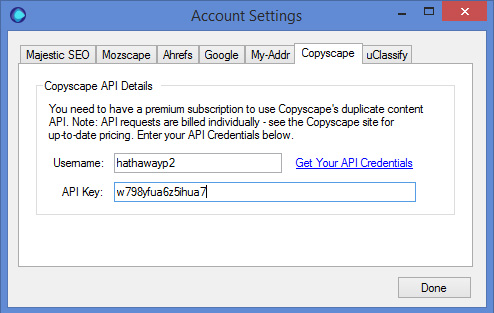
You will need to add your username and password to URL Profiler Account Settings.
uClassify
URL Profiler can access the uClassify API to extract content analysis data about URLs:
- Topic Analysis
- Sentiment Analysis
- Language
- Tonality
- Mood
- Age
Sign up for your uClassify account on this page.
Once you’ve signed up you will see your allowance – the free account will be sufficient for most uses.
Then navigate to their API Keys page and copy the ‘Read’ API key, which you need to paste into URL Profiler. Click ‘Accounts’ in the top navigation and then choose the ‘uClassify’ tab, then paste your API Key into the box.
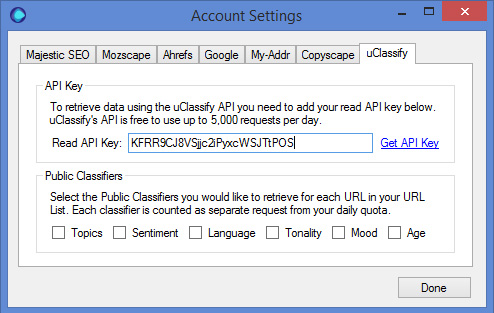
You will also need to select the public classifiers you would like to retrieve for each URL in your list. Each classifier is counted as a separate request from your daily quota.

